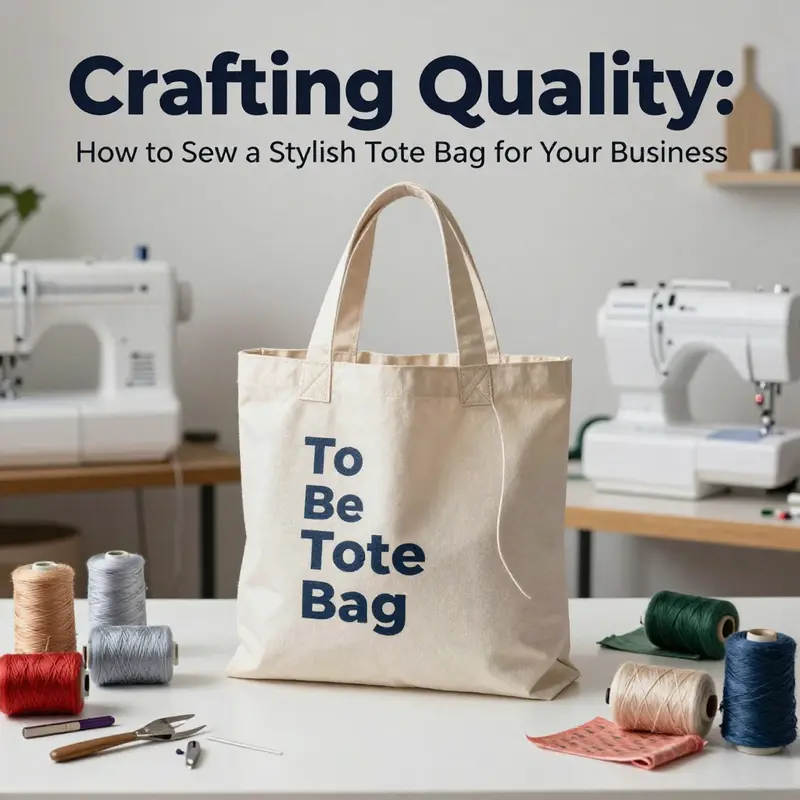
In today’s competitive business landscape, functional and stylish accessories can significantly enhance brand identity and customer experience. A well-crafted tote bag not only serves as a practical item for everyday use but also acts as a branded statement piece for businesses, helping to extend visibility and reach. This guide will equip you with the knowledge and skills necessary to craft a durable tote bag, including essential materials, a step-by-step sewing process, and finishing techniques that will ensure your product stands out. Whether you’re creating bags for resale or promotional purposes, the insights shared will add tremendous value to your business offerings.
From Fabric to Finish: Selecting Materials That Make a Tote Bag Durable and Everyday-Ready
A tote bag is more than a simple carrier; it is a reliable daily companion built from the quiet, sturdy choices you make long before you stitch a seam. The materials you choose set the tone for durability, comfort, and style. In a project that seems straightforward on the surface, the right fabric weight, the correct lining, thoughtful handle construction, and even the smallest notions work together to create a bag that not only carries your world but does so with ease, wash after wash. When you approach a tote with an eye for material quality and compatibility, you begin to see the craft as a conversation between fabric, thread, and technique—a conversation that rewards precision, patience, and a bit of planning. The core decision points begin with fabric selection, extend through the lining and handles, and culminate in a finish that preserves shape, reduces wear at stress points, and presents a clean, polished look each time you sling the bag over your shoulder or carry it by the handles.
The first layer of this conversation is the main fabric. The guide you are following recommends a durable, medium-weight material such as cotton canvas, denim, or twill. These fabrics share a common purpose: they offer enough heft to hold their shape, resist abrasion, and tolerate regular use without sagging or tearing. A bag built from canvas, for example, benefits from its rugged yet pliable surface, which accepts topstitching and other embellishments with a neat, even finish. Denim brings a similar stubborn resilience, but with a texture and drape that can influence how the bag folds and stands when empty. Twill, with its diagonal weave, often strikes a balance between stiffness and flexibility, lending a slightly dressier silhouette while maintaining practical durability. If you are drawn to sustainability, repurposed materials can be a compelling option. A flour sack or other sturdy upcycled textiles can be transformed into a unique, eco-friendly tote, provided you honor the grain, weight, and fiber content so that the finished bag remains intact during daily use. The materials discussion does not end with fabric alone; the thread you choose plays a critical supporting role.
Matching thread matters as much as the fabric itself. A strong polyester or sturdy cotton thread that closely matches your fabric color will help the seams bear load without drawing visual attention. The needle and stitch length you select after that choice matter too. For dense fabrics like canvas or denim, a slightly longer stitch length—say around 2.0 to 2.5 millimeters—can prevent perforations and reduce bulk where layers meet. This is especially important at the top edge, where the handles attach and where stress concentrates as the bag fills. The act of choosing thread color close to the fabric tone is not cosmetic only; it makes the joints uniform and less prone to snagging when the bag is loaded with heavier items.
In the materials list, the chapter’s emphasis on the lining deserves careful attention. The lining fabric is cut to mirror the main panels but sized a touch larger to provide extra space inside the bag. This deliberate extra room makes loading easier and gives the interior a sense of freedom that the outer fabric alone cannot guarantee. Pairing a contrasting or complementary lining fabric—such as a lighter cotton for visibility inside or a darker shade to keep the interior discreet—can add a refined, two-tone character to the bag. The lining does more than look good; it protects the outer fabric from scuffs and abrasion and can cushion delicate contents, especially when you add a laptop sleeve or small pockets later in the design.
The dimensions matter as much as the aesthetics. The standard main panels are 40 cm wide by 35 cm tall, with two identical pieces forming the front and back of the bag. The lining uses the same dimensions to ensure a clean fit, though many sewists choose to cut the lining slightly larger to accommodate a tidy top edge when the pieces are joined. If you prefer a lighter tote for quick trips, you could try smaller dimensions; if you need more capacity for daily gear or a work kit, a larger rectangle becomes both practical and proportionally graceful. In the same breath, the handles deserve careful consideration. Two strips of fabric, each around 50–60 cm long, are typical, with a common starting length of roughly 66 cm for a double-layered strap. The width is often around 5 cm, which yields a comfortable, evenly distributed load across the shoulder. The length and width of the handles influence the bag’s carry style—from a hand-held tote to a comfortable over-the-shoulder option—and that decision should be guided by how you expect to use the bag most often.
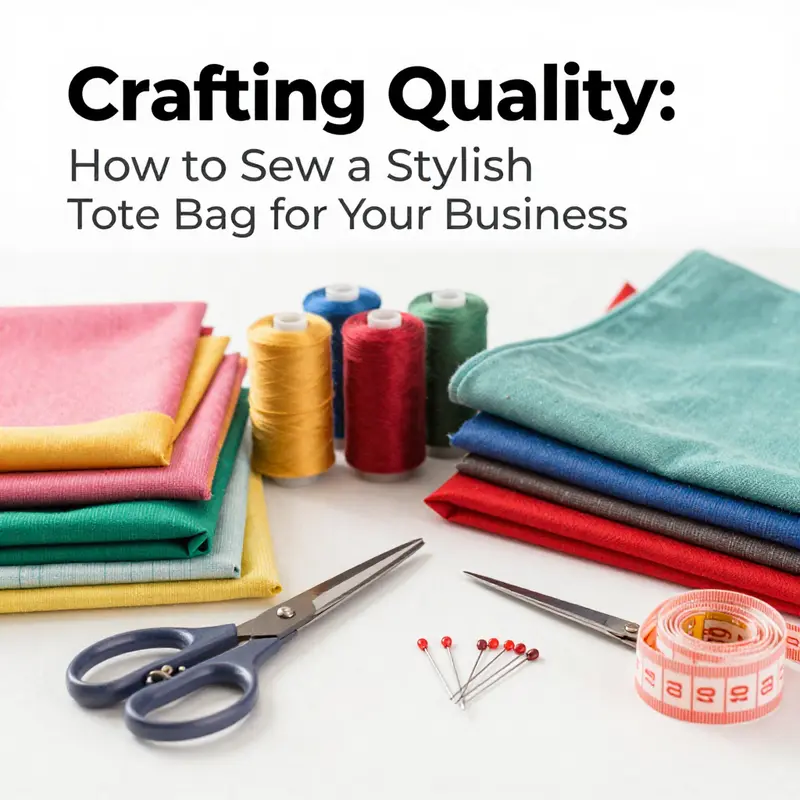
A thoughtful materials plan also recognizes the importance of tools and workspace. A reliable sewing machine is ideal for producing durable seams with consistent tension and neat topstitching. If a machine isn’t available, hand sewing remains a feasible path, although it requires more time and patience to achieve the same level of strength. Cutting implements—a sharp pair of fabric scissors or a rotary cutter—help you achieve crisp edges with minimal fraying. Pins or clips hold layers securely during sewing, and a ruler or measuring tape, along with tailor’s chalk or a washable marker, ensures your lines stay straight and your pieces align. An iron and ironing board are indispensable for pressing seams flat, which not only improves accuracy but also creates a professional, crisp finish that holds up to repeated use.
Given the breadth of options, the idea of a pattern or template becomes almost essential. A simple rectangle pattern, typically around 14 to 18 inches wide and 16 to 18 inches tall, provides a reliable starting point. Seam allowances, often around 1 cm, become your margin for error while maintaining a clean silhouette. The pattern acts as a compass throughout the construction, guiding where you place the handles, how you align the lining, and where the final seam will run. Yet even with a pattern, there is room for personal touch. Some sewists prefer a slightly wider top edge to accommodate a row of decorative topstitching parallel to the opening. Others might elect to insert a small corner gusset or add a bottom reinforcement, turning a simple tote into a sturdier, more structured version. The decision to add or omit an extra seam depends on how the bag will be used and how much stiffness you want at the bottom.
The practicalities of construction also extend to finishing touches. A bottom treatment that creates a flat base is highly desirable for stability when the bag sits on a table or floor. While the core tutorial you’re following presents a corner treatment that trims away excess fabric to flatten the bottom, this is not merely a cosmetic step. It reduces bulk and helps the bag maintain its shape, turning soft fabric into a form with presence. The entire process culminates in a turning and final seam that encloses the lining and secures the top edge, so the bag wears well as a single, integrated unit. Here, the emphasis is on a seam that travels around the top edge, joining the outer and lining fabrics with a clean, uninterrupted line that reinforces the structure. Carefully avoiding the handles during this step is essential; misaligned stitching can distort the opening and complicate turning the bag right side out.
As you finalize the bag, you might consider a few embellishments that don’t compromise durability. Patches, decorative stitches, or a simple ribbon tied at the top edge can personalize the tote and reflect your taste, while remaining compatible with the hardware-free, hands-on ethos of this project. If your goal is a straightforward, everyday tote, you can keep embellishments minimal, focusing instead on a balanced color story that coordinates with your wardrobe. The guiding principle remains: the beauty of a well-made tote lies not in ornate features, but in the quiet precision of each seam, the steadiness of each fold, and the care you invest in pressing and finishing.
To connect the materials discussion with broader context and inspiration, many sewists find it helpful to explore variations that align with different lifestyles. For example, a tote designed for everyday errands might benefit from a heavier, canvas-like fabric paired with a sturdy, wider handle. A laptop-friendly version could incorporate a padded sleeve plus a reinforced bottom panel, enabling the bag to withstand heavier, denser loads. In this vein, you might browse samples of existing totes in a collection such as women’s canvas tote bags, which demonstrates how different fabric choices, trims, and internal organization impact the final silhouette and usability. As you consider such references, you can explore a broader spectrum of designs through internal resources that share your pattern language and material sensibilities. For instance, a gallery of options like women’s canvas tote bags can illuminate how color, texture, and interior layout influence the perception of sturdiness and everyday practicality. This doesn’t replace your own choices, but it offers a richer sense of what is possible when materials are chosen with purpose rather than circumstance.
In addition to material choices, it is worth noting an external perspective on personalization that does not require sewing at all. If you want to customize a tote bag without stitching new pieces, you can explore methods such as fabric paint, stencils, iron-on transfers, or adhesive patches. These approaches allow you to refresh a bag’s look or correct a wear spot without altering the fabric’s integrity through extra seams. While they do not change the fundamental materials you started with, they expand what you can do with a tote in a flexible, low-cost way. For readers curious about no-sew customization techniques, an external resource provides practical ideas and step-by-step ideas to experiment with on future projects.
In practice, selecting materials for a tote bag becomes a dance between intention and constraint. You weigh the weight and texture of the fabric against the desired final silhouette, the practicality of the lining, and the way the handles will interact with your body when you carry the bag. You consider how much daily use you anticipate, and whether the bag will be carried on the shoulder, by the hand, or both. You imagine the finishing touches—the top edge, the corners, the bottom—each a micro-decision that affects the bag’s long-term behavior. And you plan your sewing space around those decisions: a clean, well-lit area with ample room for folding, pinning, and pressing. The beauty of sewing a tote bag lies not just in the result but in the process—the way each choice you make shapes the bag’s function, personality, and endurance over time.
As you move through the project, you’ll find that the materials you chose become a language of their own. The fabric’s weight communicates stability; the thread’s sheen frames the stitches; the lining’s color hints at interior organization; and the handles, though utilitarian, reveal how you intend to use the bag day after day. When all these elements harmonize, the tote is more than a vessel. It becomes a trusted companion, ready to carry groceries, notebooks, a laptop, or a collection of personal items, with a quiet confidence that only well-chosen materials can provide. This is the heart of your chapter’s premise: the path from material choice to finished bag is a journey of mindful selection, careful cutting, precise stitching, and patient finishing. The result is a durable, stylish tote that supports your daily rhythms without demanding more than you’re willing to invest in care and maintenance.
In closing, the next steps in your tutorial will guide you through cutting the pieces, preparing the handles, assembling the bag, and finishing it with a clean seam and optional bottom treatment. The narrative you have just read is meant to prepare you for those concrete actions by clarifying why each material decision matters. When you choose sturdy fabric, complementary lining, robust threads, and well-calibrated handles, you set the stage for a bag that will endure the test of daily use. The project becomes not just about sewing a tote but about embracing a handmade standard of reliability and style that you can carry with you long after the fabric has learned your habits. If you want to explore more examples and patterns to inform your own selection, the linked resource on canvas totes offers a broader sense of possibilities while you remain anchored in the concrete choices outlined here. And when you’re ready to consider no-sew personalization as a future option, the external reference provides approachable ideas to refresh your bag without stitching anew. No matter how you choose to proceed, the philosophy remains the same: care in materials leads to care in craft, and care in craft leads to a tote bag that truly serves you every day.
From Sketch to Stitch: A Simple, Durable Tote Bag
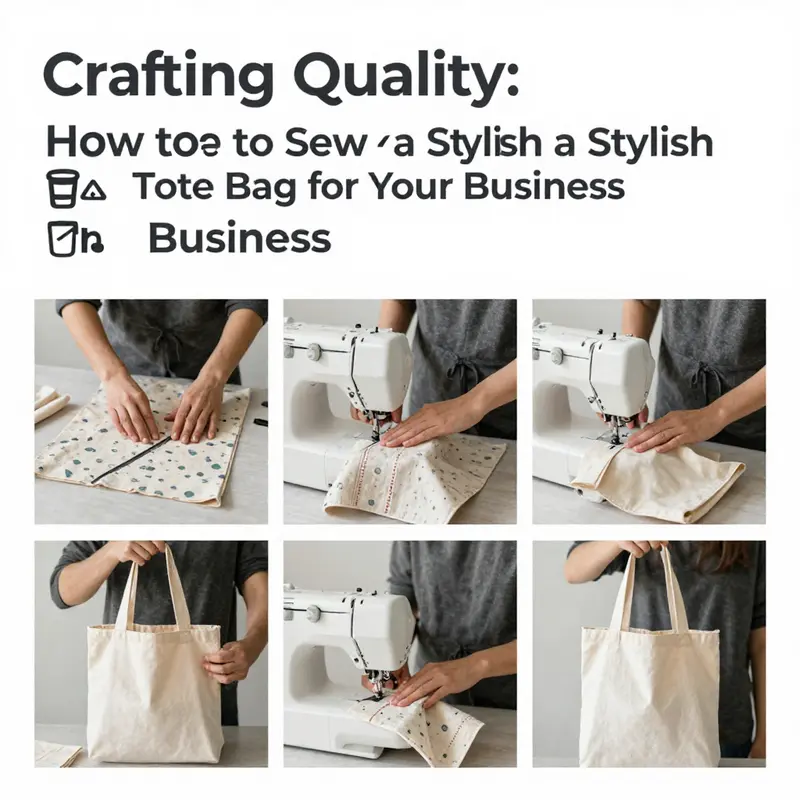
This concise guide walks you through planning, cutting, sewing, and finishing a sturdy tote bag. Start by choosing a fabric and size, then cut front and back panels, trapezoid side panels, and a lining. Use about 1 cm seam allowances and sew outer and lining pieces separately before joining them. Attach the handles to the top edge with reinforcement stitches, and consider a bottom treatment for stability. Optionally include a zipper pocket on the outer panel and small interior pockets for organization. Finally press the seams for a clean silhouette and enjoy a functional bag you can customize by color and texture.
Finishing Touches for Tote Bags: Edges, Handles, and Small Details

Finishing a tote bag is where the craft shifts from a simple rectangle to a durable everyday companion. The finishing touches – edge treatment, secure handles, precise assembly, and optional details like bottom stiffeners and decorative personalization – determine how the bag will wear and feel in the hand. In this chapter we explore practical techniques that balance function with a clean, polished look.
Edge finishing anchors the bag’s opening and preserves shape. The classic method is bias binding or a folded edge. Cut strips on the bias for flexibility, about two inches wide; fold in half and sew, enclosing the raw edge. Double stitching along the top edge adds durability when the bag carries heavier items. These details are small, but they influence longevity and the bag’s silhouette over time.
Handles must be strong, securely attached, and comfortable. A sewn-in strap anchored into side seams is robust; to reinforce, add a small stabilizing rectangle at the attachment points. Ensure both handles align and mirror each other when the bag is turned right side out. For a different look, piping or bound handles provide a refined outline and can help distribute load more evenly.
After handles, assemble the bag with the top edge as the boundary between outer fabric and lining. Keep handles clear of the stitching line and test alignment before finishing the seam. A clean top seam anchors construction and helps the bag keep its shape when loaded.
Bottom stiffness improves behavior when the bag is empty or carrying weight. A thin bottom insert, fusible interfacing, or a light panel of cardboard can prevent sag. Cut to fit the interior bottom, insert before final seam, and stitch close to edges to avoid bulk at corners.
Pressing is not merely cosmetic – it sets seams and helps fabrics meet cleanly. Use steady pressure and a pressing cloth for delicate fabrics, and consider topstitching just inside the top edge for a tailored finish.
Personalization, such as monograms or decorative patches, adds character without compromising structure. Plan placement before final stitching to avoid bulges and misalignment, and ensure attachments are secure for daily use.
If you wish, you can add a zipper or pocket for valuables, or keep the interior unlined for breathability. The finishing framework remains modular: you can introduce zippers, pockets, or hardware without changing the bag’s core proportions. The result is a tote that carries well, wears gracefully, and reflects the maker’s care.
Final thoughts
Sewing a tote bag presents an opportunity to combine creativity with functionality, resulting in a product that not only serves everyday purposes but also enhances your business image. By carefully selecting high-quality materials, following the step-by-step sewing process, and implementing thoughtful finishing touches, you can create tote bags that resonate with your brand identity and meet your customers’ needs. Embrace the art of sewing as a practical method to contribute to your business growth, and take the next step in crafting your very own bespoke tote bags.