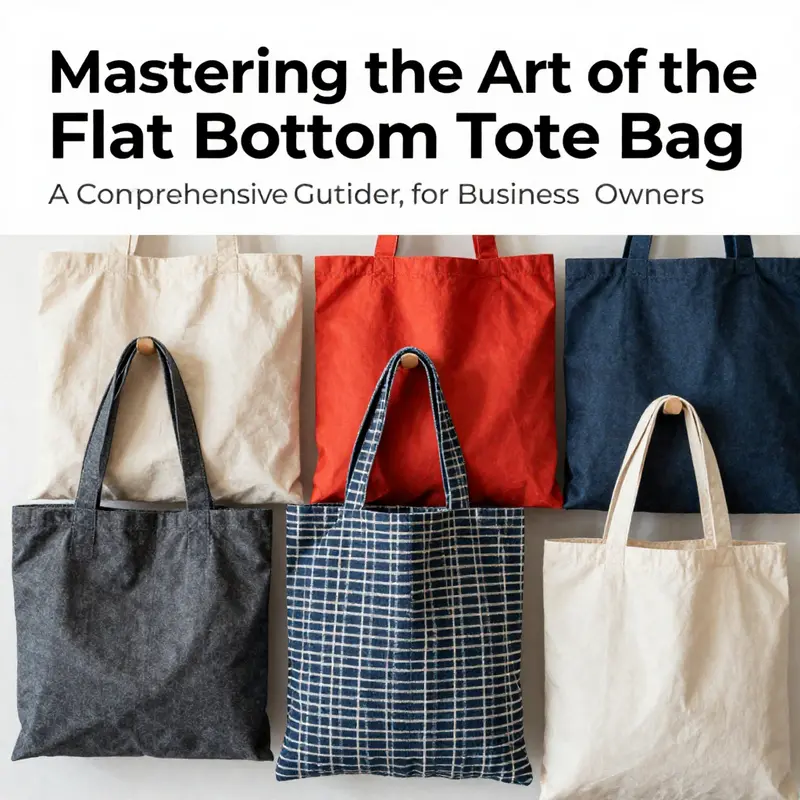
Sewing a flat bottom tote bag can be a lucrative venture for business owners looking to offer customized products. With its spacious interior and sturdy design, the flat bottom tote is not only practical but also fashionable, catering to a wide range of markets including retail, personal use, and promotional items. By understanding the materials required, following a methodical sewing process, and implementing techniques for a flawless finish, you can successfully create these bags. Each chapter in this guide will provide the essential knowledge you need, from gathering necessary materials to mastering the assembly and finishing touches, positioning you to create high-quality totes that stand out in a competitive marketplace.
Sturdy Foundations: Essential Materials and Tools for a Flat-Bottom Tote That Keeps Its Shape

A flat-bottom tote begins with more than a pretty fabric and a few stitches. It starts with choosing materials that cooperate with each other to create a bag that sits firmly on a table, carries a load without sagging, and last through many trips to the market or library. The goal is practical, enduring construction, not just a quick sew. When you gather materials with intention, the rest of the process—patterns and seams, cutting and stitching—feels less like guesswork and more like a confident craft. Start with what your bag must be able to do: support groceries, books, a laptop, and everyday odds and ends, all without losing its neat silhouette. Then match fabric, lining, and supports to that purpose. In this chapter, we’ll walk through the foundational materials and the roles they play, while keeping the focus on a flat-base shape that really works.
First come the exterior fabrics. The standard approach calls for about 1 yard of medium-weight fabric for the outer shell. Think sturdy cotton canvas, denim, or a tightly woven linen. These fabrics offer enough body to hold the bag’s form while remaining comfortable to carry. If you’re new to sewing with heavier textiles, choose a weight you can manage in your machine’s rhythm and with your iron’s heat. The same yardage configuration applies whether your tote will wear a raw, industrial look or a softer, everyday finish. The exterior fabric sets the visual character of the bag, but it also influences how you approach interfacing and padding. If your chosen fabric is a touch limp, you may decide to introduce interfacing to help the bag stand on its own. If the fabric already has a nice drape and density, you can keep the base relatively lean and rely on a well-cut bottom panel to maintain shape.
Speaking of the bottom, the flat base is the heart of the project. The bottom panel is typically a single rectangle that you’ll attach to the main body to form the distinctive flat bottom. A common size is around 40 cm wide by 8 cm high, cut from the exterior fabric or from an additional piece of interfacing to give extra rigidity. This bottom panel is not just a decorative piece; it is the key structural element that transforms a simple tote into a bag with a stable footprint. The process of sandwiching the bottom panel between the two exterior panels creates a base that can bear weight without bulging. It’s a small detail, but it has a big payoff in the bag’s overall usability and longevity.
Lining fabric is the second essential layer. Plan for about ½ yard of lining fabric per tote. The lining can be a lightweight cotton, a quilting cotton, or a smooth polyester lining—whatever folds cleanly and reduces bulk at the seams. The lining protects the interior, supports a neat finish, and hides raw edges from view. When choosing lining fabric, consider how it feels against the exterior and whether it’s color-coordinated or boldly contrasted. A lighter lining can make the inside of the bag feel larger, which is a practical bonus when you’re rummaging for a notebook or a phone in a crowded tote.
The handles, or straps, bring both function and personality to the project. Most beginner and intermediate patterns call for two strips of fabric sized around 120 cm long by 5 cm wide if you’re making fabric straps. If you prefer a more substantial handle, you can either double the strap thickness by sewing two layers together or switch to leather or metal handles. Leather options add a touch of polish and durability, but they require careful handling to avoid stretching or tearing the edges. Fabric straps are forgiving and easy to customize; you can fold and topstitch them for strength, or add a small inner layer of interfacing for extra stiffness. Regardless of material, attach the straps securely to the bag through all layers with strong stitching, preferably a reinforced square or box stitch that distributes weight more evenly across the attachment points.
Interfacing, fusible webbing, or other stiffening aids offer an optional path to extra structure. For a tote with a particularly flat bottom, a light-to-medium interfacing can be applied to the main panels or to the bottom panel itself. Fusible interfacing fuses to the wrong side of fabric with heat and helps resist sagging when the bag is loaded. If you’re working with a very dense canvas or denim, you might opt to skip extra interfacings to avoid added bulk. The decision to use interfacing should align with both the fabric’s inherent body and the bag’s intended use. In other words, heavier fabrics may need less extra support, while lighter fabrics benefit from a touch more stiffness to maintain shape.
Threads and notions are the quiet workhorses that keep a sewing project calm and deliberate. Choose a thread that matches or closely complements your exterior fabric in color and weight. For canvas or denim, a polyester or cotton-poly thread with a strong break is ideal because it resists stretching, fraying, and heat from the iron. A simple universal needle size of 80/12 is a good starting point for most fabrics. If you’re tackling thick layers at the bottom and strap attachment points, you may be tempted to switch to a heavier needle, but test a small seam first to see how the thread, needle, and fabric interact under your machine’s feed. A seam ripper should ride nearby for quick fixes. Scissors or a Rotary cutter make clean, accurate cuts, while pins or clips hold layers in alignment during sewing. An iron and ironing board remain indispensable from the first cut to the final topstitch. Pressing between steps helps steps stay aligned and sharp, preventing drag and shifting that can ruin a flat base.
Pattern considerations may feel abstract at first, but they matter deeply for a balanced tote. You’ll typically work from a pattern that yields two exterior body pieces and two lining pieces, plus one bottom panel, and two strap pieces. Cutting with precision—using a ruler and chalk or fabric marker—keeps the sides symmetric and the bottom square. If you’re using a paper pattern, tape it down to a flat surface for easy tracing, then cut with care to preserve the grain. The flat-bottom construction hinges on this careful alignment: the bottom panel must kiss edges accurately as you sandwich it between the two main body panels. You’ll stitch along the top edge of the bottom panel with a modest seam allowance, often around 1 cm (½ inch), so the base forms cleanly and sits flat when the bag is padded with its contents.
As you proceed, you’ll notice the flow of the project hinges on the interplay between exterior materials, lining, and structural aids. The fabric’s weight must be balanced with the chosen interface and the number of topstitch lines you plan. A neat finish is not an afterthought but a product of deliberate preparation: pressing seams open, trimming corners, and aligning edges with steadiness. A short but essential reminder is to press the raw edges inward before final assembly. This step reduces bulk and gives a crisp, professional look when you topstitch along the entire perimeter. The bag’s top edge becomes a clean, strong line rather than a frayed boundary. When you finish, the exterior and lining are joined at the top with a final seam, and a turning gap remains to pull the bag right side out. You’ll likely close this gap with a hidden stitch, or a careful blind stitch, so the interior remains polished and the exterior shows no telltale signs of the turning.
With the materials chosen and the structural decisions made, you can begin the more tactile aspects of the build. For instance, if you’re curious about expanding your tote’s versatility, there’s room to explore features like an internal sleeve or pockets. A practical path is to view how other sewers incorporate separate compartments while maintaining the flat-base silhouette. For a related exploration of adding features like a laptop sleeve, see a tote bag with computer sleeve. By anchoring your project in robust fabrics, thoughtful interfacing, and sturdy hardware, your flat-bottom tote becomes more than a vessel; it becomes a reliable everyday companion.
Finally, a note on learning and reference. If you want a detailed, beginner-friendly guide on constructing a flat bottom tote bag with lining, refer to this comprehensive tutorial: https://www.allthethings.com/sewing-tote-bag-with-lining/ for additional visual guidance and step-by-step photography that reinforces what you’ve practiced here. That external resource complements the careful preparation described above, helping you translate intentions into crisp seams, balanced proportions, and a finished tote that serves you well on many errands to come.
null

null
null
null
The Final Stitch: Strength, Structure, and Personal Flair in a Flat-Bottom Tote
When you reach the final stages of assembling a flat-bottom tote, the work shifts from simply joining pieces to shaping a dependable, everyday companion. The finish is where durability and aesthetics meet, and where a bag’s personality starts to show through the work you’ve chosen to do with fabric, thread, and patience. The goal is not to hide the underpinnings of the project, but to reveal them in a way that makes the tote feel balanced, stable, and ready for whatever you toss inside. In this chapter, we glide from the important, high-stress corners to the quiet precision of pressing, into the smart choice of structure, and finally toward personalization that makes the bag unmistakably yours. The path is linear, but the decisions you make in this phase ripple through every use, every grab from a shelf, every shopping trip, and every commute.
First, corner reinforcement anchors the tote’s life to its load. The corners where the bottom panel meets the side walls are the bag’s joints under pressure. A sturdy stitch here is not a luxury; it’s the foundation of long-lasting shape. You’ll start by inspecting the corners where the bottom panel has fused between the two outer panels during the sandwich stage. Rather than a single pass, you create a deliberate, reinforced hold using backstitches or a box stitch to lock the seam lines in place. The box stitch, with several short, square stitches, distributes weight more evenly and reduces the chance of a seam peeking open or tearing when the bag is packed. If you’ve used a thick fabric combination or added interfacing to the base, take a moment to verify that the stitches sit neatly and don’t create bulky points that poke into the interior. A smooth, compact seam here pays off in the long run and makes you comfortable loading the bag to its intended capacity.
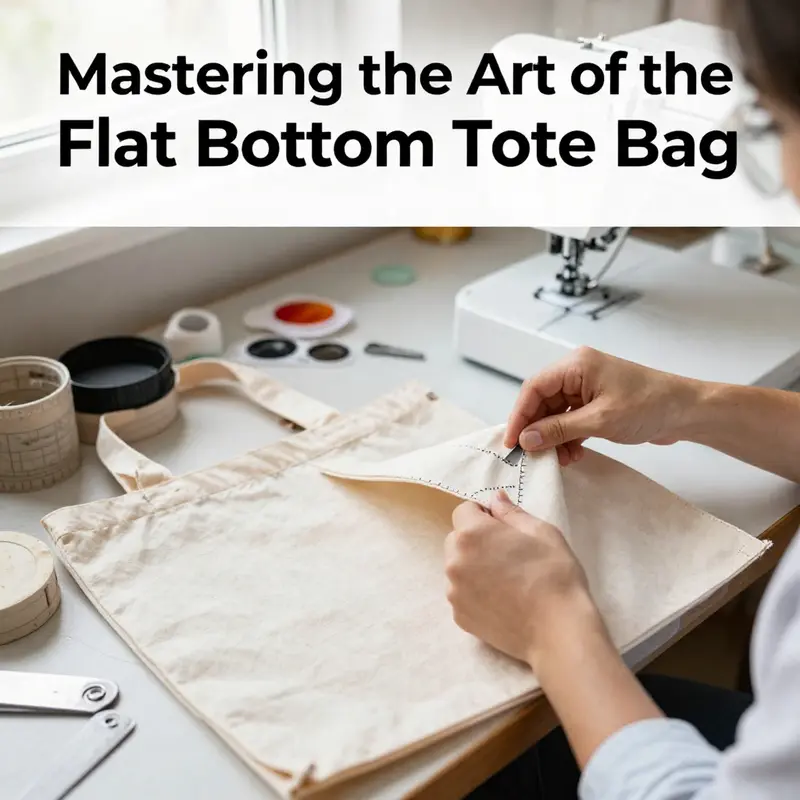
Second comes the art of pressing. In sewing, pressure is a quiet partner to stitch lines. A well-pressed seam lies flat and reduces bulk where the bag bends, turns, and carries weight. After you’ve reinforced the corners, turn your attention to the side seams and the base seams. Open the seams gently with an iron, then press them flat as if you were smoothing out a precious keepsake. Use a pressing cloth on delicate surfaces or if your fabric is prone to shine. The result isn’t just tidiness; it’s a step toward crisp, professional edges that won’t sag or bunch when the bag is loaded with books, groceries, or a sweater. The practice of pressing isn’t glamorous, but it is essential for the structure that holds its shape under pressure. When you lift the bag by the top, the edges should ride smoothly, and the bottom should stay honest and flat rather than bowing outward at the corners.
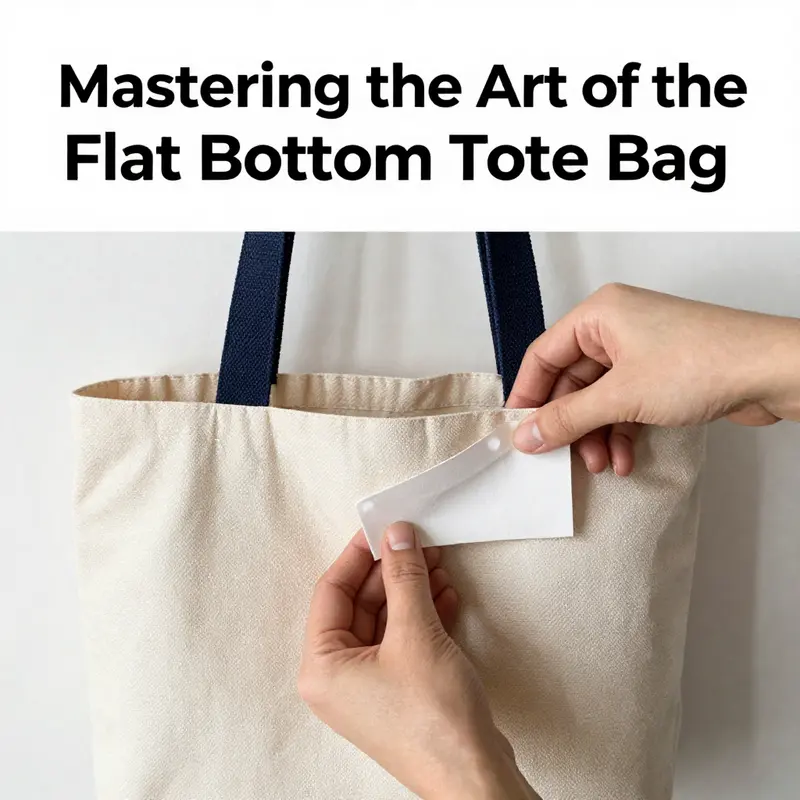
Third, consider adding structure to the base and body for greater stability. If the base feels soft and flexible, you can insert a piece of fusible interfacing or a stiffening canvas into the bottom panel before attaching it in the final assembly. This underlayer acts like a tiny skeleton, helping the bag regain its shape after a heavy or unevenly distributed load. It also reduces the risk of bulging when the bag is set down on a table or carried by the handles. When you choose to use interfacing, cut it to the exact footprint of the bottom panel and fuse it as directed by the interfacing’s instructions. The result is a flat, confident base that stands up to daily use without looking collapsed or floppy. The bottom panel remains a flexible partner in the tote’s design, but with a controlled silhouette that makes stacking and storing easier, and it provides a reliable surface that won’t cave in when a laptop or a stack of groceries rests on top of it.
Personalization is the thread that ties utility to identity. After the main construction, you can weave in small, meaningful details that give the bag character without compromising its purpose. Fabric paint or dye can add a splash of color or a subtle pattern along the top edge, a pocket, or even a decorative motif near the base. Patches, embroidery, or monogramming—done with care and washable materials—offer a sense of ownership and a touch of your personal style. If you plan to add a pocket or a name tag, place it in a spot that remains accessible yet unobtrusive, such as a side seam or the interior of the lining. Personalization should enhance usability as well as aesthetics; a discreet pocket for keys or a tiny zippered compartment for cards can be both stylish and functional. In practice, those small touches tend to be what makes a tote feel like your own rather than a generic carryall. And if you’re exploring practical refinements, you can visualize a feature like a laptop sleeve or a dedicated interior pocket by looking at the kind of durable examples you find in related designs; for instance, a tote bag with computer sleeve can serve as inspiration for how to balance interior organization with clean exterior lines.
With the structural basics settled and personalization chosen, you turn to the assembly that binds all the moving parts into a single, coherent unit. The outer shell and the lining are joined at the top, with the seams aligned and the right sides tucked neatly together. A careful approach here prevents misalignment that would show up as an uneven top edge or a wobbly bag when you stand it up. You pin or clip around the perimeter, then stitch with a conservative 1 cm seam allowance. It’s wise to leave a turning gap of about 10-15 cm so you can invert the bag to its finished orientation. This step demands calm, deliberate motion: you want to sew through all layers—outer fabric, lining, and any interfacing—without catching the seam allowances in the wrong places. After you close the bag, you turn it right side out through the gap, use a point turner to push out the corners, and press the top edge flat. If you stitched correctly, the exterior and lining will align in a neat line around the top.
Turning to the final touches, you close the turning gap with a precise hand stitch or a blind-stitch. Then comes the moment when the bag reveals its true potential: the top edge is pressed and the lining tucked into the exterior bag, with the two layers resting flush against one another. A final topstitch around the entire top edge, close to the edge, not only reinforces the seam but also anchors the lining in place so it doesn’t twist when you carry the bag. The straps, already reinforced during their construction, should sit comfortably at the bag’s upper corners. A strong backstitch or a box cross-stitch through all layers keeps them secure, even when the bag carries a heavy load. If you’ve used single-layer straps, turning them right side out and finishing with a row of topstitching along their length will prevent twisting and ensure they remain sturdy over time. The finished tote should stand confidently when empty, but the real test comes with use: it should maintain its shape, resist wear at the strap attachments, and offer a sense of balance as you lift it by the handles.
This is the moment when the practical art of sewing becomes personal craft. The flat bottom becomes a reliable stage for daily life, carrying everything from groceries to gym gear to a book and a sweater as the seasons shift. The corners that once seemed like minor details now anchor the bag’s durability and help it hold its silhouette under pressure. The pressing, the reinforcing stitches, the choice of a structured base, and the careful topstitching all converge to create something that feels thoughtfully designed rather than hastily assembled. And when you add your personalization—whether it’s a bit of color, a monogram, or a hidden pocket—the tote stops being just a tool. It becomes your own, a small testament to the care you put into something you’ll use again and again. If you’re curious about further ideas for personalizing a plain tote, you can explore additional inspiration at instructables guide on personalization: How To Personalize A Plain Tote Bag With Simple Supplies.
Mastering the Flat-Bottom Tote: Practical Tips for Beginners
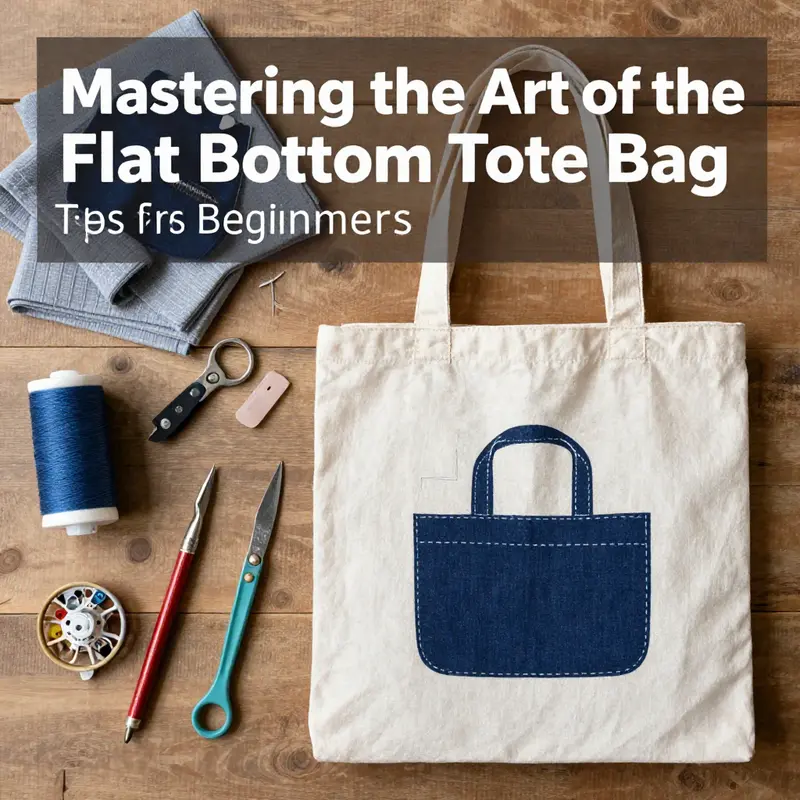
Sewing a flat-bottom tote bag is one of those small, satisfying projects that rewards careful planning as much as it rewards steady hands. A bag that can stand on its own, hold a book or a lunch, and still look crisp at the top edge is a lesson in structure as much as in technique. The pathway to that crisp bottom starts long before you press the first seam. It begins with thoughtful fabric choice, precise cutting, and a calm approach to construction. When you treat each step as part of a whole, the flat base becomes not just a feature but a foundation for confidence in your sewing.
Choosing the right fabric is the first essential decision. A medium-weight cotton canvas, sturdy linen, or a light-to-midweight denim offers enough body to support the flat bottom while still sewing smoothly on a home machine. Lightweight fabrics can collapse under the weight, while very heavy fabrics may resist turning and pressing. The goal is a fabric that holds its shape yet forgiving enough to allow accurate seam lines. Pair the exterior with a lining that has a similar weight so the bag behaves consistently from outside to inside. If you plan to carry heavy loads, you might consider a touch of interfacing at the bottom or a light stabilizer along the base to keep the bottom crisp and prevent sagging over time.
Precision in cutting cannot be overstated. The flat-bottom construction hinges on two main panels that sit side by side with a bottom piece tucked between them. A rotary cutter, a straight ruler, and a self-healing mat help you achieve perfectly square edges and true parallel sides. Before cutting, double-check your measurements and align the pattern pieces carefully. When you cut, keep the edges clean and smooth, because ragged edges create extra bulk and can throw off the final lengths of the sides.
The standout moment comes when you attach the bottom panel. This is the step that transforms a simple rectangle into a bag with a flat base. Lay the bottom panel right side up, place one main body piece right side down atop it, and align edges precisely. Pin or clip and stitch along the top edge of the bottom panel with a 1 cm seam allowance. Repeat on the opposite side with the second main body piece. The result is a neat “sandwich” where the bottom panel is nestled between the two front and back panels, giving you a sturdy, flat base once you flip the bag to its right side. A tip here is to finish the seam edges if your fabric frays, perhaps with a quick zigzag or overcast stitch, so the interior remains tidy as you proceed.
With the bottom secured, sew the main body panels together with their right sides facing. This is not a race; a consistent 1 cm seam allowance helps the bag stay proportional and balanced. Do the same for the lining pieces, which mirrors the exterior construction so the interior slides in smoothly later. Pressing after each seam opens the garment to a clean line, and heat from the iron helps set the stitches and reduce bulk. When you press, focus on the corners where the sides meet the base; a crisp corner is what makes the bag stand nicely when set down.
Edge finishing acts as the frame of the bag. Fold the raw inner and outer edges inward by about 1 cm (½ inch) and press again. Topstitch around the perimeter of both the exterior and the lining—roughly 0.5 cm from the edge—to reinforce the structure and present a polished finish. The topstitching is more than decorative; it acts as an anchor that minimizes edge curl and helps the bag retain its silhouette under load. This is also the moment to think about color accents. A contrasting topstitch can add a subtle, professional touch if you want a little visual drama without overwhelming the fabric. If you are curious about different feature options later, you can explore a resource that discusses zipper-equipped tote variations, which can broaden your repertoire without changing the fundamental flat-base technique.
Straps are the hands that carry the bag, so their construction deserves attention. If you’re using single-layer straps, turning them right side out before attachment keeps edges neat. For double-layer straps, sew the two layers together with right sides facing, then turn and press. Topstitch along the length to secure the layers and add strength. When attaching the straps, position them at the top corners of the bag, ensuring they are evenly spaced and aligned with the bag edges. Sew securely through all layers—exterior, lining, and strap—using a robust backstitch or a small box stitch. The strap attachments are stress points; a little extra stitching here can make the difference between a bag that lasts and one that stretches or pulls.
The assembly of outer and lining into one cohesive bag is where the project gains its final shape. Place the exterior and the lining right sides together, align the top and side edges, and sew around the perimeter with a 1 cm seam allowance. Leave a turning opening—typically around 10 to 15 cm—so you can right-side out the bag after stitching. This opening will be closed by hand or with a careful blind stitch once the bag is fully turned and pressed. Turning is a moment to pause and check. Use a blunt tool to press out the corners for neat, sharp angles; the flat base should sit evenly and the sides should align cleanly with no twist in the fabric. The final pressing stage, where you flatten the top edge and press the entire bag, helps to unify the exterior and interior layers. A gentle hand along the seam allowances ensures nothing puckers or twists as you finish.
Turning the bag right side out is the moment of revelation. The corners should be pushed to their crispest point with a turning tool or the blunt end of a tailor’s scissors. A thorough press along the top edge sets the lid of the bag and makes the interior edges look deliberate and neat. The final hand-stitch that closes the turning gap should be invisible from the outside, so a ladder stitch or whip stitch with matching thread keeps the finish discreet and professional. This finishing sequence—turn, press, secure—transforms a practical project into a ready-to-use bag that truly stands on its own.
The path to a successful flat-bottom tote is not just about following steps; it’s about cultivating habits that keep the process calm and predictable. A walking foot can be a faithful ally when working with layered fabrics, as it helps feed the layers evenly and reduces shifting. Reinforcing stress points where the straps join the body—by adding a few extra stitches or a small bartack—adds longevity to the bag. Choosing durable thread that matches or contrasts tastefully can influence both the bag’s performance and its personality. And above all, take your time. Measure twice, cut once, sew with intention. The payoff is a bag that will carry a world of small, daily necessities and still look crisp, day after day.
If you’re curious about expanding your tote-building toolkit, consider a resource I’ve found helpful for exploring zipper options and other refinements. It can provide ideas for how a simple modification like a zipper closure can alter the bag’s behavior without changing the fundamental flat-bottom construction: tote bags with zippers.
In the end, the flat-bottom tote is more than a bag; it’s a practice in precise measuring, patient pressing, and careful stitching. The technique rewards methodical work with a durable object that carries stories and supplies through days of work, study, and travel. For those who want a visual walkthrough that complements this narrative, a beginner-friendly video guide offers step-by-step demonstrations that reinforce what you’ve learned here and invite you to try variations at your own pace. Watch the full tutorial for a practical, hands-on look at turning theory into a sturdy finished tote: https://www.youtube.com/watch?v=ZlQjXKpYJmU
Final thoughts
Crafting a flat bottom tote bag is not only a rewarding creative endeavor but also offers business owners a unique opportunity to enter a thriving market. By carefully selecting materials, applying accurate sewing techniques, and finishing with precision, your tote bags can become a sought-after product. Remember that every aspect of sewing, from the initial layout to the final stitches, impacts the quality of your bags. Embrace each stage of the process and take pride in the durable and stylish totes you produce, ready to meet the demands of your customers.